- Advanced
- Components
- Accordion
- Autocomplete
- Avatar
- Avatar Group
- Breadcrumb
- Button
- Card
- Checkbox
- Chip
- Dropdown
- Field
- Heading
- Icon box
- Input
- Input File
- Input Number
- Kbd
- Link
- List
- Message
- Pagination
- Paragraph
- Placeholder
- Placeload
- Popover
- Primitive Field
- Progress
- Progress Circle
- Prose
- Radio
- Select
- Slider
- Snack
- Switch Ball
- Switch Thin
- Tabs
- Tag
- Text
- Textarea
- Theme Toggle
- Toast
- Tooltip
- Utilities
- Snippets
Installation
The installation process is simple and straightforward. You can install Shuriken UI in your project using the following methods.
Create a new project
Start by creating a new Nuxt project.
See nuxt.com for more information.
pnpm dlx nuxi@latest init my-shuriken-app
cd my-shuriken-app
Install Shuriken UI
Install Tailwind 4 and Shuriken UI using your package manager.
pnpm add -D @shuriken-ui/nuxt@next tailwindcss
Update your Nuxt configuration
Add Shuriken UI module and setup your Tailwind CSS file.
export default defineNuxtConfig({
  modules: [
    '@shuriken-ui/nuxt',   ],
  css: [
    '~/assets/css/main.css',   ],
})
Configure Tailwind CSS
Create a assets/css/main.css to load Tailwind and Shuriken UI theme.
@import 'tailwindcss';
@import '@shuriken-ui/nuxt';
Add Shuriken UI Providers
This will provide contexts to nested components such as toast, tooltip, etc.
<template>
  <BaseProviders>     <NuxtPage />
  </BaseProviders> </template>
Theming concepts
Get the most out of Shuriken UI by exploring more concepts and features.
Theme Overview
Learn how theming works in Shuriken UI and get a grasp on the basic concepts.
Theme Colors
Learn how to setup your branding color, your gray shade and additional support colors.
Dark Mode
Learn more about Shuriken UI's native dark mode and how components are built around it
Visual Style
Learn more about Shuriken UI components key concepts and how to customize them.
Typography
Explore the typography system and how to customize it, including fonts, sizes etc...
Breakpoints
Learn how Shuriken Ui behaves in responsive viewports and how to customize it.
Setting up VSCode
If you're using VSCode, you can install the Tailwind CSS IntelliSense extension to get autocompletion for the utility classes.
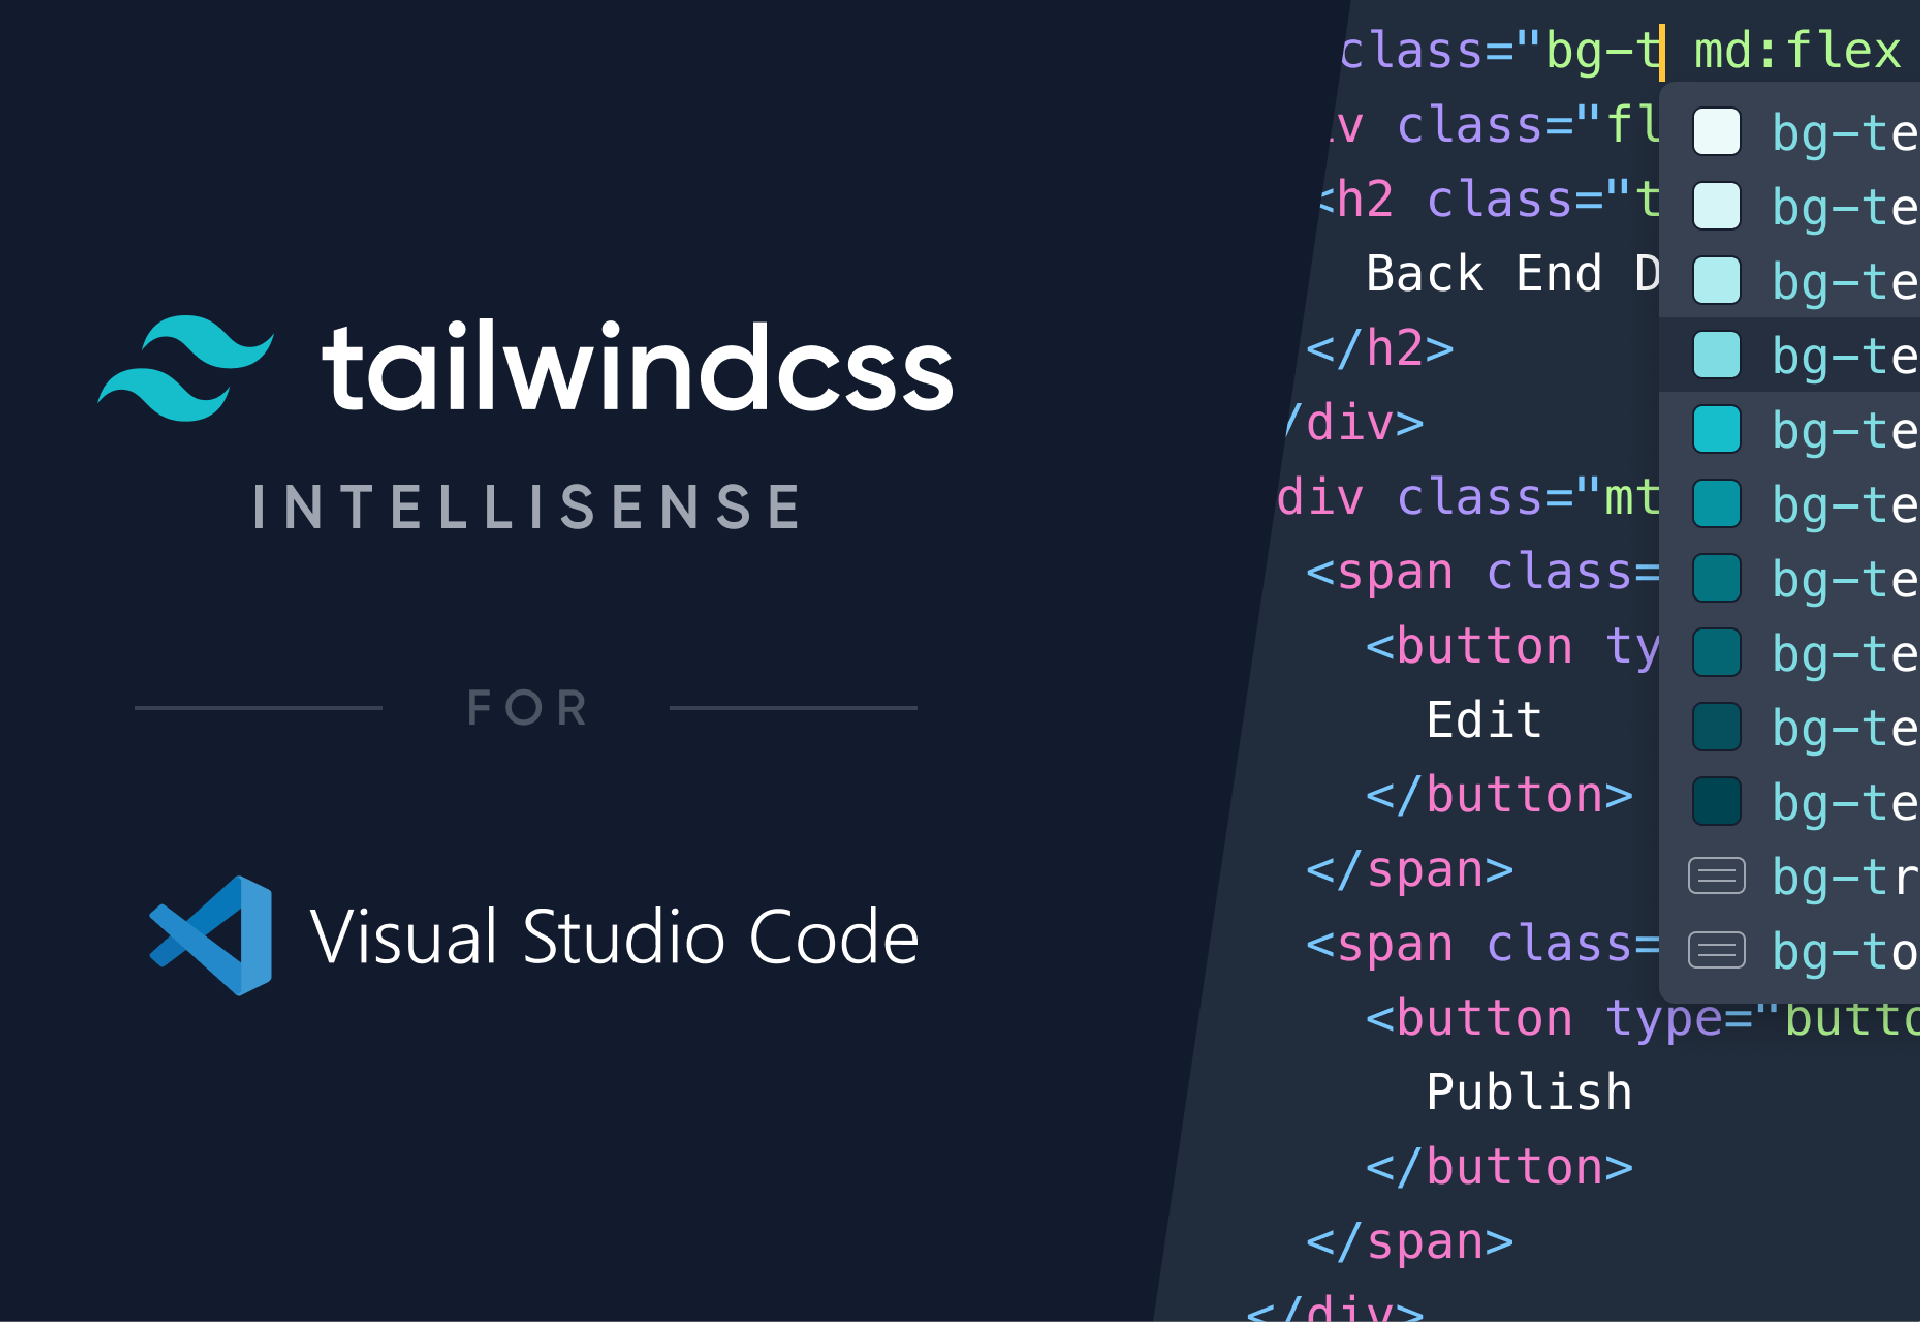
You can read more on how to set it up on the tailwindlabs/tailwindcss-intellisense github repository, but to summarize, you'll need to add the following to your .vscode/settings.json:
{
  "files.associations": {
    "*.css": "tailwindcss"
  },
  "editor.quickSuggestions": {
    "strings": true
  }
}